1. Installation
Adding the Chime TTS Integration
The easiest way to install Chime TTS is though HACS (the Home Assistant Community Store), but you can also add the files manually:
Option #1: Via HACS (Recommended)
-
If you don't have HACS installed yet, follow the official installation guide.
-
Add the Chime TTS repository to HACS by clicking here:

-
Click
ADD:
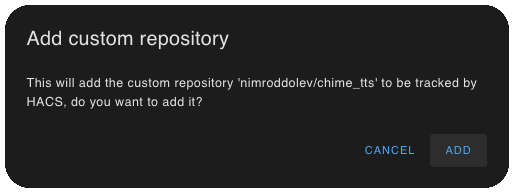
-
Click
DOWNLOAD:
-
Restart Home Assistant.
Or:
Option #2: Manual Installation
-
Using your file browser of choice open the directory for your HA configuration (where you find configuration.yaml).
-
Create a
custom_componentsdirectory if it does not already exist. -
Add a subdirectory inside
custom_componentsnamedchime_tts. -
Download all the files from the
custom_components/chime_tts/directory in this repository. -
Place them into the new
custom_components/chime_ttsdirectory you created. -
Restart Home Assistant.
First run
After restart, add Chime TTS in Settings → Devices & services → Add integration. Then open Chime TTS from the Home Assistant sidebar to select TTS defaults and manage chimes, Chime Sets, and Notification Profiles.
Try a first announcement from Developer Tools:
action: chime_tts.say
target:
  entity_id: media_player.kitchen
data:
  chime_path: bells
  message: "Welcome home"
Continue with Configuration and Chimes.
Beta Versions
To install beta versions of Chime TTS, which may include new features, bugfixes and enhanced performance optimizations, follow these steps:
-
Open the Chime TTS repository in HACS
-
Click on the
⋮button in the top right -
Select the
⤓ Downloadoption -
Click on
Need a different version? -
From the
Releasesdrop-down list, select a beta (pre-release) version -
Click
Download -
Restart Home Assistant